The Checkout Field Editor provides an interface to add, edit and remove fields shown on your WooCommerce checkout page. To use this plugin, Woocommerce should be activated.
Setup and Configuration
Go to: WooCommerce > Checkout Fields.
Fields
There are three sets of Fields you can edit:
- Billing – Payment and billing address section of checkout (payment must be enabled)
- Shipping – Shipping section of checkout (shipping must be enabled)
- Additional – Appear after the billing and shipping sections of checkout, next to order notes (order notes must be enabled)
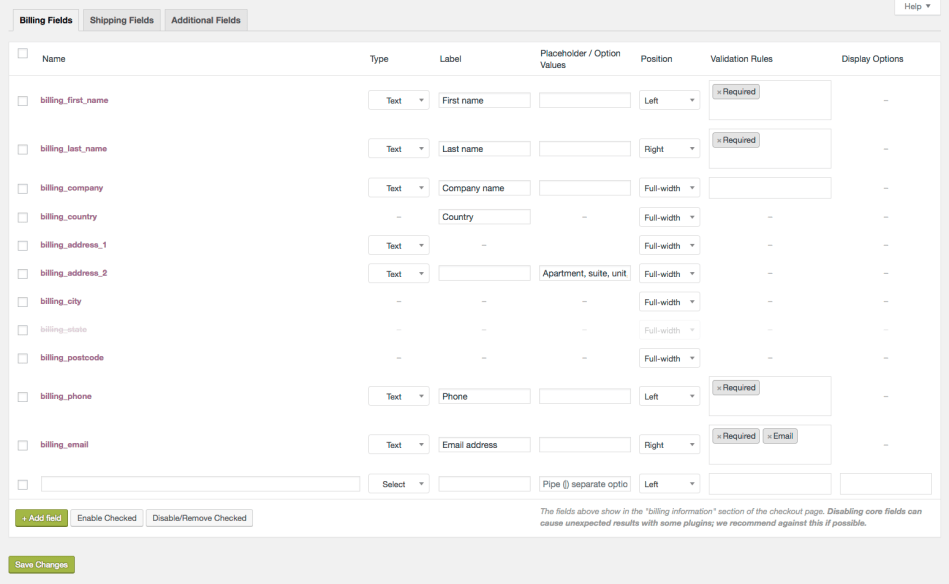
Columns
- Name – Name of field, which is used as the meta key to save info. Must be unique.
- Type – Field type. See ‘Types’ below.
- Label – Label for input shown in checkout.
- Placeholder / Option values – Placeholder text for inputs OR the options for select boxes, radios etc. Values should be separated by a pipe (|). Two scenarios are explained below:
- An options list starting with a pipe creates an empty choice. Used in conjunction with a required select field, it will force the user to choose a valid option.
- An options list without a pipe as first character will make the first option in the list the default choice whether the field is required or not.
- Position – Left, right or full width. This applies CSS styling to the box.
- Validation rules – Choose validation rules to apply: Email, number, and required are supported.
- Display Options – Option to display fields in thank you emails, thank you pages, or on order detail pages. (CFE 1.1.8+)
Types
These custom types are supported:
- Text – standard text input.
- Password – password text input.
- Textarea – A textarea field.
- Select – A dropdown/select box. Requires options set.
- Multi-select – A multi-select box. Requires options set.
- Radio – A set of radio inputs. Requires options set.
- Checkbox – A checkbox field.
- Date picker – A text field with a JavaScript data picker attached.
- Heading – Adds a heading to allow separating fields into groups.
Editing core fields
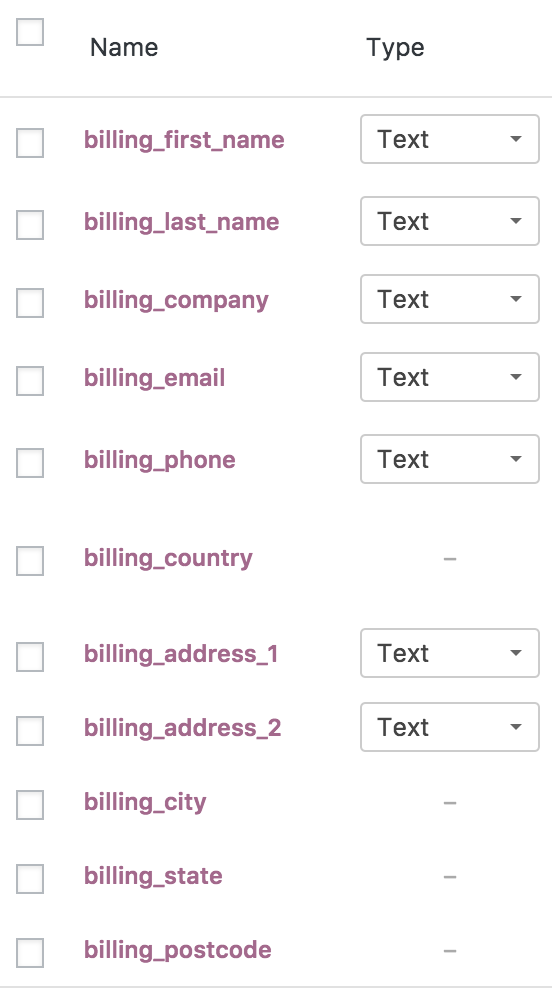
In the Billing and Shipping sections, there are core fields highlighted in purple.
Disabled fields
Some core fields have options disabled and cannot be changed:
- Names of core fields
- Types of special core fields (country and state)
- Fields that change dynamically based on the chosen country of a user (address 1, address 2, city, state, postcode) cannot have custom validation rules, e.g. Required fields are determined by locale, not by your settings.
With those limitations in mind, you can:
- Change the labels and position of the fields.
- Disable them by ticking the checkboxes per-row and clicking the ‘Disable/Remove’ button. Disabled fields are then greyed out. Use at your own risk.
Re-enable core fields by checking the rows and pressing the ‘enable’ button.
Adding and editing custom fields
From the bottom of the fields table:
1. Select the Add Field button.
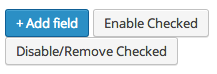
Once a field is added, a blank row appears.
![]()
2. Enter your text and preferences.
3. Save Changes.
Resetting checkout fields
To reset your fields back to the original settings:
- Go to: WooCommerce > Status > Tools.
- Scroll down to Checkout Fields.
- Select the Reset Checkout Fields button. Any customizations to your fields will be removed.
Field display and checking values
Consider the following date picker field:

In checkout, this is displayed:
After placing an order, the field will be visible in the Admin section ‘Custom Fields’ panel:

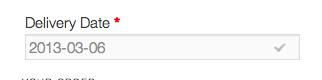
Usage
On the front end, customers can see and enter info in a custom field displayed during checkout. For example, Delivery Date and then use the datepicker to select one:

Or enter text under Food Allergies:
