Do you want to send notification emails with a custom header image? In this article, we’ll show you how to add a header image to the email template in WPForms.
To get started, go to WPForms » Settings and select the Email tab. In the Template section, you’ll see the options for using the HTML Template or Plain text. To use a custom header image in the notification emails, the HTML Template option is required. As this option is the default option, you’ll just have to check that it is selected.
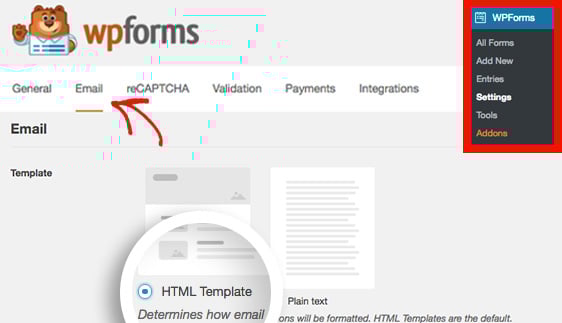
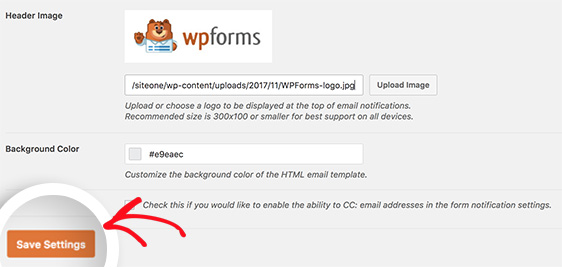
Next, scroll down to the Header Image section and click on the Upload Imagebutton.

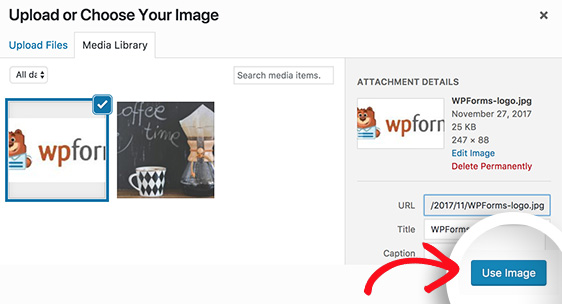
An overlay will appear where you can upload a new file, or select an existing file from the WordPress Media Library.
Once you’ve selected your image, click on Use Image.
Finally, click on Save Settings to keep the changes. To test this template, send a notification email to yourself by submitting a form entry.
Here’s what the email notification will look like with our custom header:
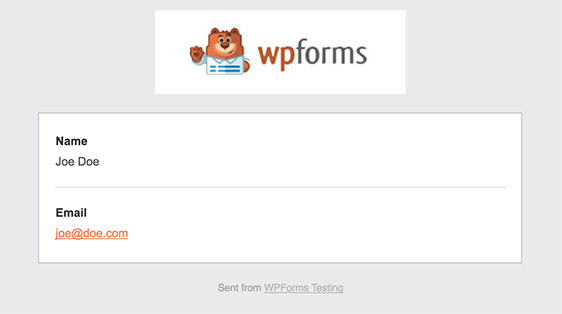
That’s it! You can now add custom header image in your WPForms email template.
Next, do you want to send notification emails based on the user’s form selection? Be sure to check out our tutorial how to set up conditional form notifications!