Would you like to customize the validation messages used on your forms? Customizing validation messages is especially useful if you want to translate your forms into different language, or even if you’d simply like to change the message wording.
In this tutorial, we’ll show you some examples of validation messages and how to change them.
What Are Validation Messages?
WPForms performs different validation techniques for each form element. For example, required fields should not be empty and an email field should contain an email address that is properly formatted.
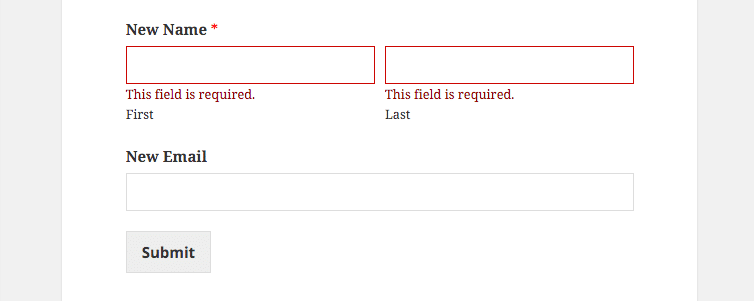
When these validations are run, they generate different messages to display. The most common message a user might see is “This field is required” if they skip a required field.

How to Customize Validation Messages
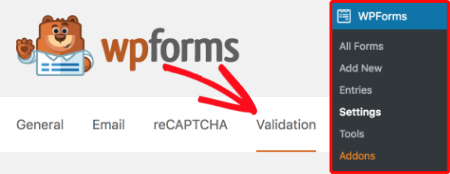
To view the existing list of validation messages, go to WPForms » Settings and open the Validation tab.

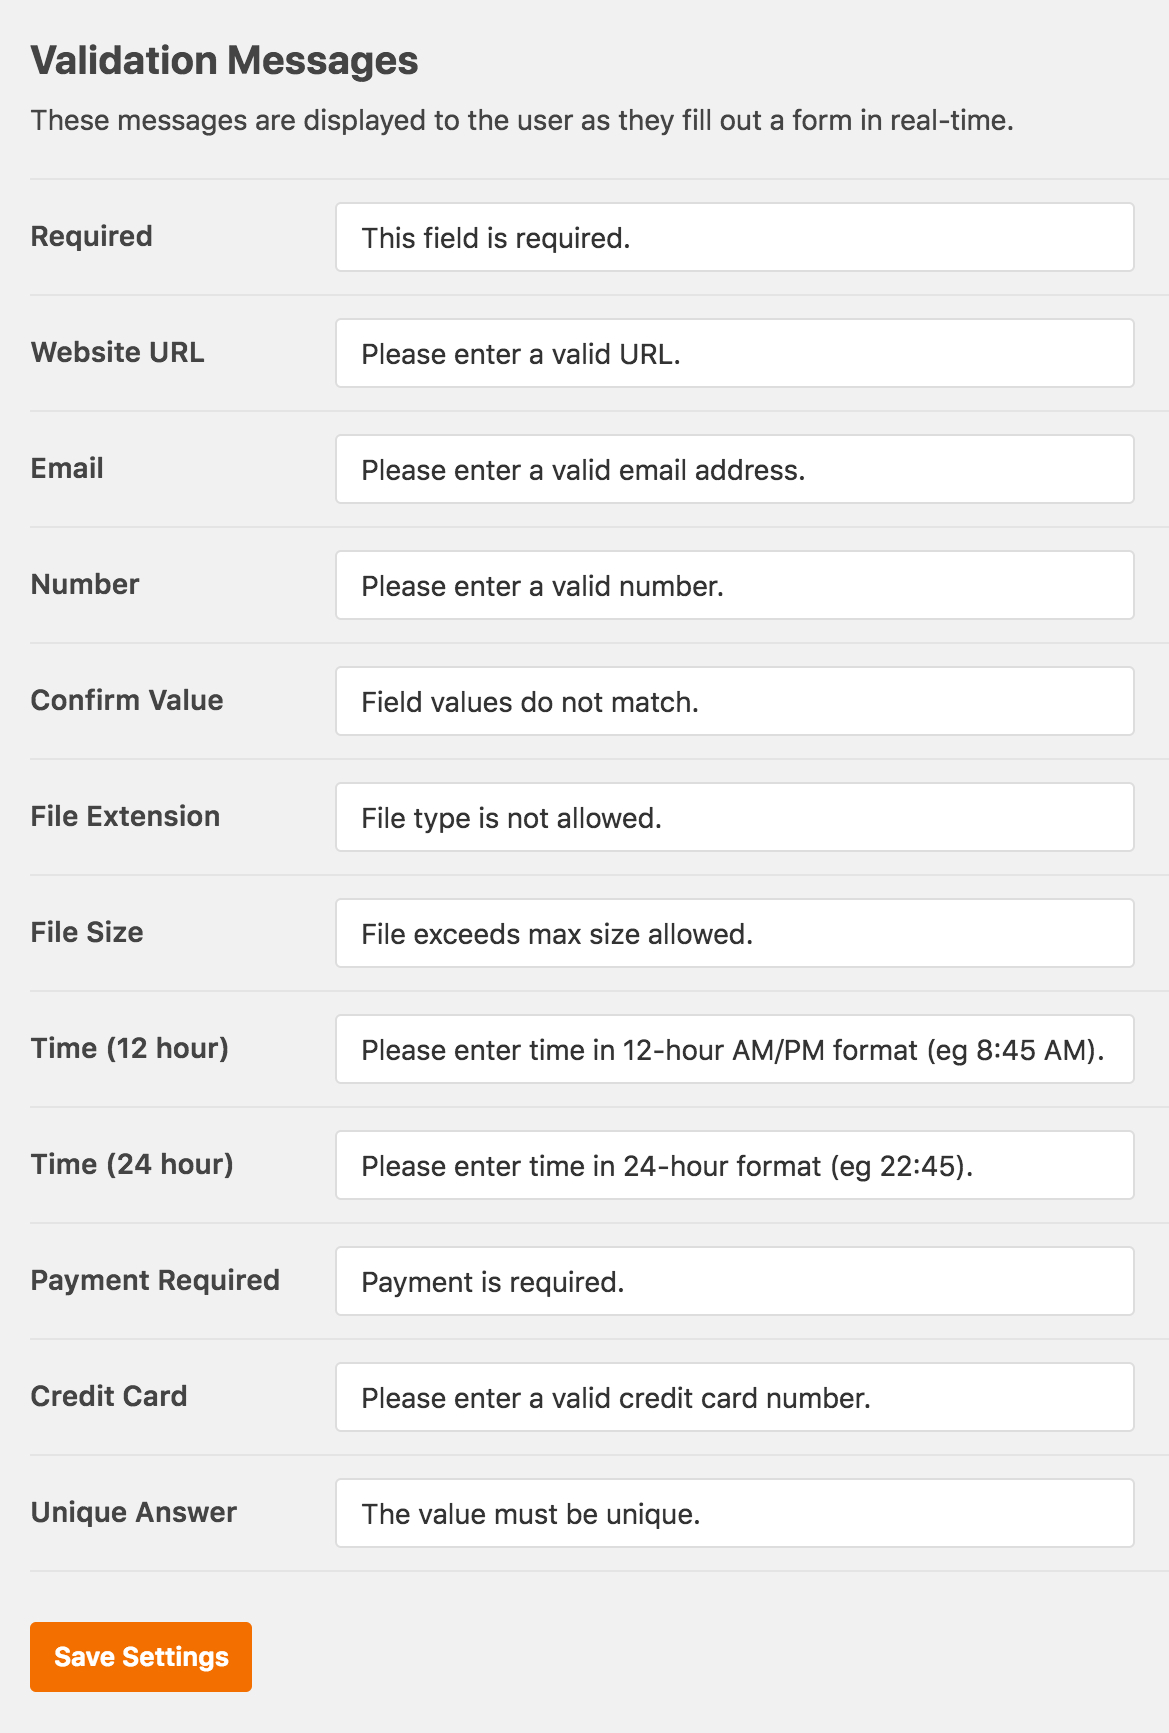
Here’s a screenshot of the validation message settings on that page:

The specific message options available depend on your license level and what addons you have installed.
Here are all of the validation messages currently available for customization and their defaults:
- Required: This field is required.
- Website URL: Please enter a valid URL.
- Email: Please enter a valid email address.
- Number: Please enter a valid number.
- Confirm Value: Field values do not match.
- File Extension: File type is not allowed.
- File Size: File exceeds max size allowed.
- Time (12 hour): Please enter time in 12-hour AM/PM format (eg 8:45 AM).
- Time (24 hour): Please enter time in 24-hour format (eg 22:45).
- Payment Required: Payment is required.
- Credit Card: Please enter a valid credit card number.
- Unique Answer: The value must be unique.
Once you’ve made any changes, just be sure to click Save Settings. These validation messages will be used for any WPForms on your site.
That’s it! You’ve now you can customize validation messages on your forms.
Would you also like to customize the appearance of your validation messages, or to style other parts of your forms? To get started, check out our Beginner’s Guide to CSS.
