Would you like to change what the user sees after submitting a form, based on their entry selections? With conditional logic you can set up any number of different confirmations to show your users a different message, or even direct them to a different page, based on the contents of the entry they submitted.
In this tutorial, we’ll show you how to set up conditional form confirmations in WPForms.
Before we get started, you’ll need to create a new form or edit an existing form.
For our example, we’ll use a basic contact form. This form will include a field called “What topic would you like to contact us about?”. Here, the user can let us know the main topic of their message so that we can show them a relevant confirmation message.
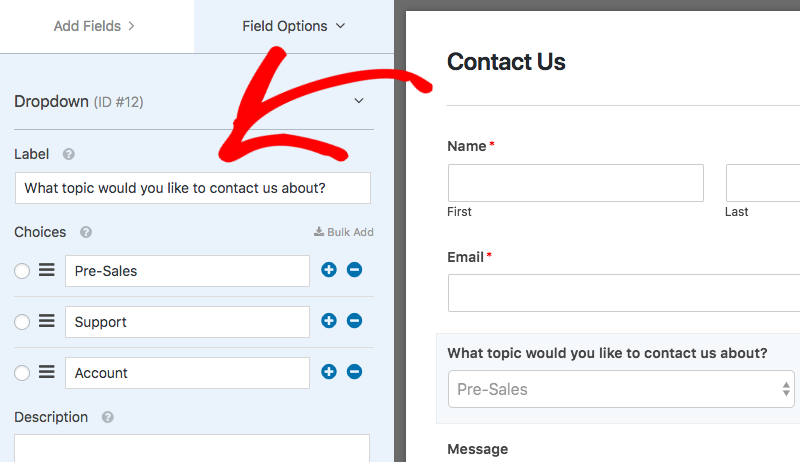
After you’ve added the form fields you need, go to Settings » Confirmation.
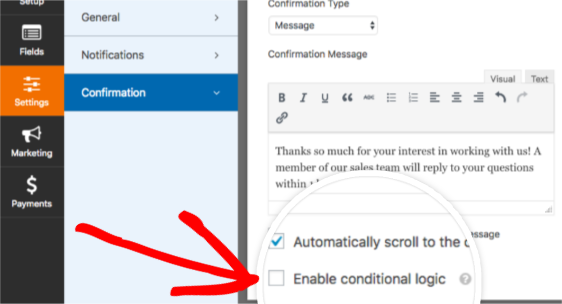
First, go ahead and select which kind of confirmation you’d like to use in the Confirmation Type dropdown. Conditional logic can be applied to any confirmation type.
For our example, we’ll use a Confirmation Message.
In order to see the conditional logic option, we’ll need to add at least one more confirmation.
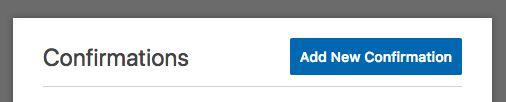
To add another confirmation, you’ll need to click the Add New Confirmationbutton in the upper right corner of these settings.
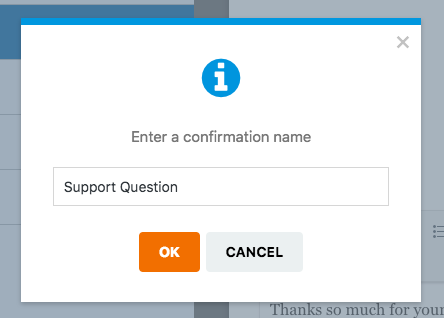
You will be prompted to name the new confirmation. This is for your internal use only, so you can name it anything that feels logical.
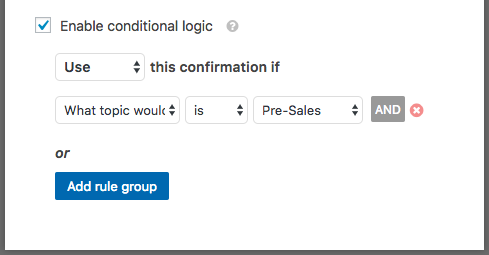
After you’ve set up each of these confirmations how you’d like, you’ll need to check the box labeled Enable conditional logic.
Next, you’ll be able to set up your conditional rule. This will determine when this confirmation will be used.
For our example, we only want to use our first confirmation if the user chooses “Pre-Sales” as the topic in their entry. Here’s how we’ll set up our conditional logic to accomplish this:
Use this confirmation if What topic would you like to contact us about? is Pre-Sales.
Our first conditional confirmation is now all set!
Then you can set up conditional logic for the second confirmation as well. You can repeat this process for as many different confirmations as you’d like.
That’s it! You can now set up conditional logic for confirmations in your forms.
Next, would you like to also set up conditional notification emails? This is a great way to provide your users with an even more custom experience, or to contact the relevant members of your team. Please check our our tutorial on conditional form notifications for all the details.