Would you like to choose which fields are displayed on your form’s main Entries page? By default, this screen will simply display the first three fields of your form. Customizing the Entries page column allows you to quickly view the most important entry fields of each form.
In this tutorial, we’ll discuss how to choose which fields are displayed in Entries page columns.
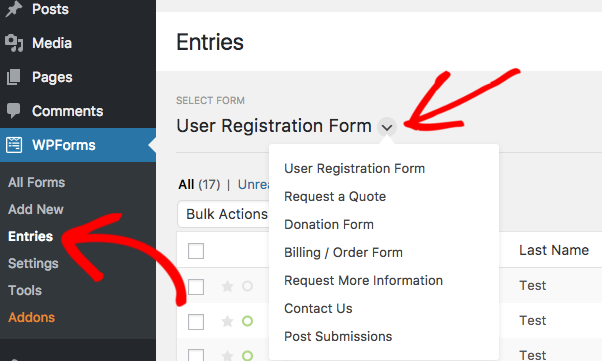
To get started, you’ll need to go to WPForms » Entries and select the title of the form you’d like to view entries for.
Now that you’ve opened the Entries page that you’d like to customize, you can click on the gear icon to the right of the current column titles.

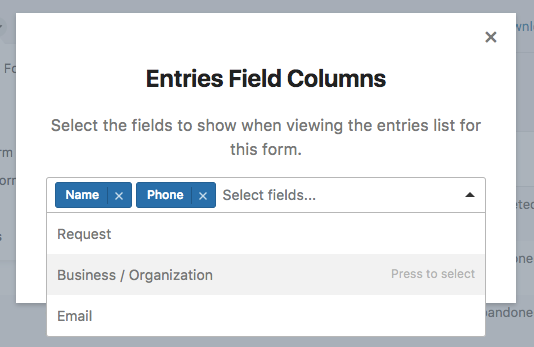
After clicking this gear icon, a modal will appear. On this screen, you’ll be able to select which columns you would like to display on the Entries page.
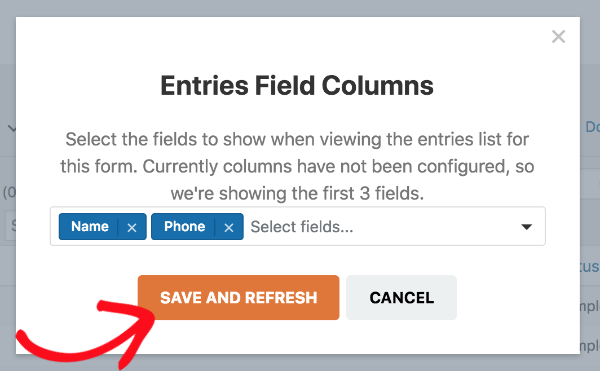
When you’ve selected all the columns you’d like, you can click on the Save and Refresh button.
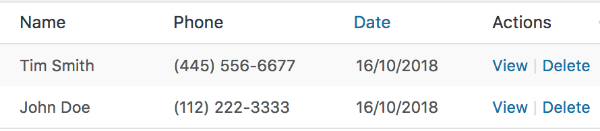
The Date, and Actions columns will remain on the right side of this screen, and all selected columns will be displayed to the left.
That’s it! You can now customize the columns shown on each Entries page for your forms.
Next, would you like to export your entries to a spreadsheet program like Excel? Be sure to check out our tutorial on how to export entry data to a CSV.