Want to stop spammers from filling out your forms? Google’s reCAPTCHA allows you to add human verification technology to your forms. WPForms makes it super easy to add reCAPTCHA to your forms.
In this article, we will show you how to set up and enable the built-in reCAPTCHA integration in WPForms.
1. Generating reCAPTCHA Keys in Google
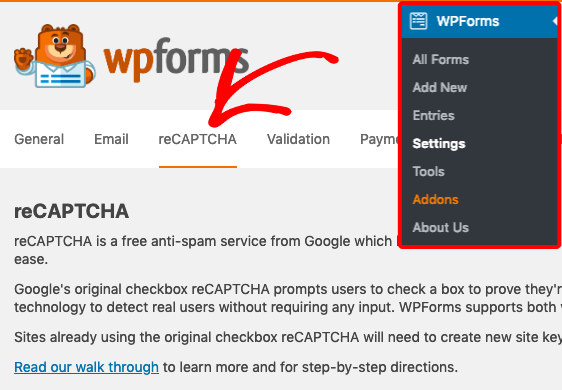
To get started, you’ll need to log into your WordPress site and go to WPForms » Settings. Then, click on the reCAPTCHA tab.
ReCAPTCHA is a free service provided by Google. There are two versions of reCAPTCHA available for your forms:
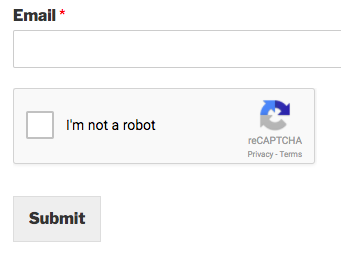
Checkbox reCAPTCHA: The user must check a box to confirm that they are human.
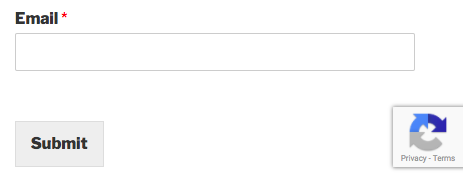
Invisible reCAPTCHA: The user won’t need to click anything within your form. A small badge is added to the lower right corner of the screen that links to Google’s terms of service and privacy policy.
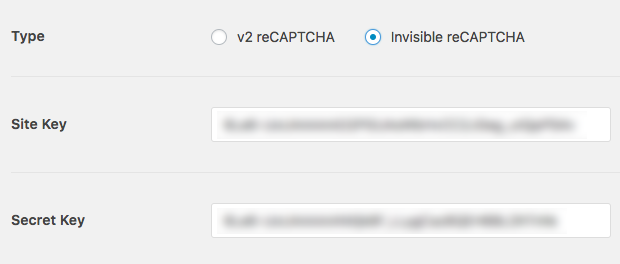
In the settings, go ahead and select the Type you’d like to use.

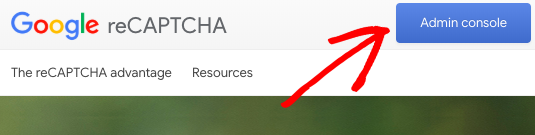
Next, you’ll need to set up reCAPTCHA in your Google account to get the required keys. To start this setup process, you’ll need to open Google’s reCAPTCHA overview page.
Once you’ve opened this page, you’ll need to click the Admin console button in the upper right corner to get started.
After clicking this button, you’ll be asked to sign into your Google account. What you see on login will depend on whether you’ve set up reCAPTCHA with this account before.
If you have set up a reCAPTCHA with this account in the past, you’ll need to click the + (plus) icon to add a new site.
![]()
If you’ve never set up reCAPTCHA before, you’ll be directed straight to the reCAPTCHA setup form.
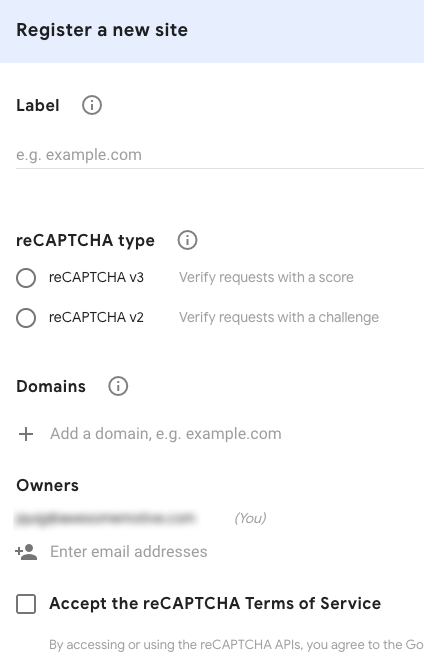
Below, you’ll find more details on how to fill out each field in this form.
- Label: This is just for you, so enter any name that makes logical sense (most commonly the website name).
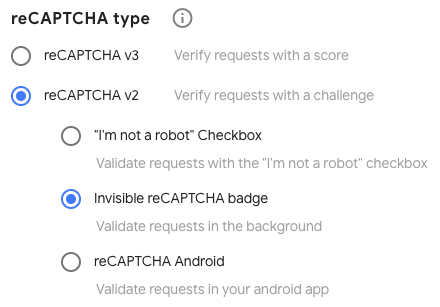
- reCAPTCHA Type: Select reCAPTCHA v2, then choose either “I’m not a robot” Checkbox or Invisible reCAPTCHA badge.
- Domains: Enter the URL where you’ll be using reCAPTCHA. Do not include “http://www” at the start (for example, wpforms.com would be accepted but https://wpforms.com or www.wpforms.com would not be accepter).
- Owners: Unless you know a specific reason to adjust this, you can skip this setting.
- Accept the reCAPTCHA Terms of Service: You must check this box to proceed.
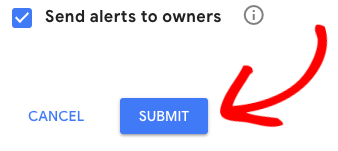
- Send alerts to owners: Unless you know a specific reason to turn this off, you can leave this box checked.
Once the form is complete, go ahead and click the Submit button.
After registering, you should see a page with the keys for your website.
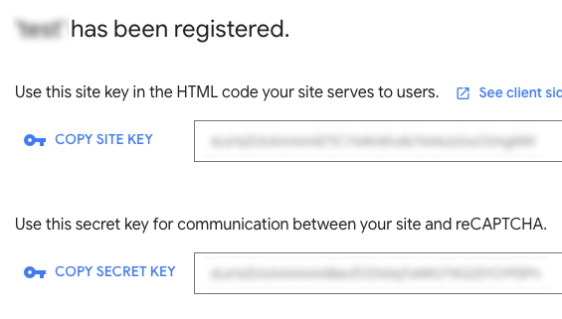
You’ll need to copy the Site Key and Secret Key. Then switch back to your WordPress site to paste these keys into their corresponding fields.
Be sure to remember to click on the Save Settings button at the bottom of this page to store these changes.
2. Adding reCAPTCHA to a Form
Now that you’ve set up your reCAPTCHA keys, you’ll be able to add reCAPTCHA to any of your WPForms.
To do this, go ahead and create a new form or edit an existing form.
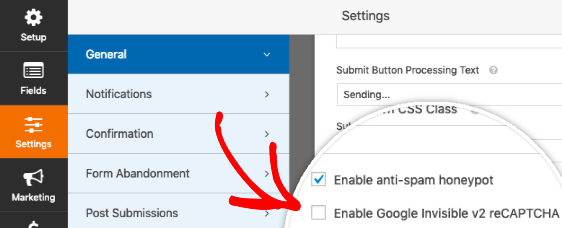
After you’ve opened the form builder, go to Settings » General and check the box labeled Enable Google Checkbox v2 reCAPTCHA or Enable Google invisible v2 reCAPTCHA.
Testing reCAPTCHA
The last step is to run a quick test to make sure that reCAPTCHA looks and works how you’re expecting.
To test this out, you’ll simply need to submit an entry to your form. For more details on how to test out your forms, please take a look at our full testing checklist.
That’s it! You can now add reCAPTCHA to any of your forms for added spam protection.
Next, would you like to find out how to customize automatic notification emails for your forms? Be sure to check out our notifications tutorial for details on how to email the person who submitted the form, add a header image, and more.