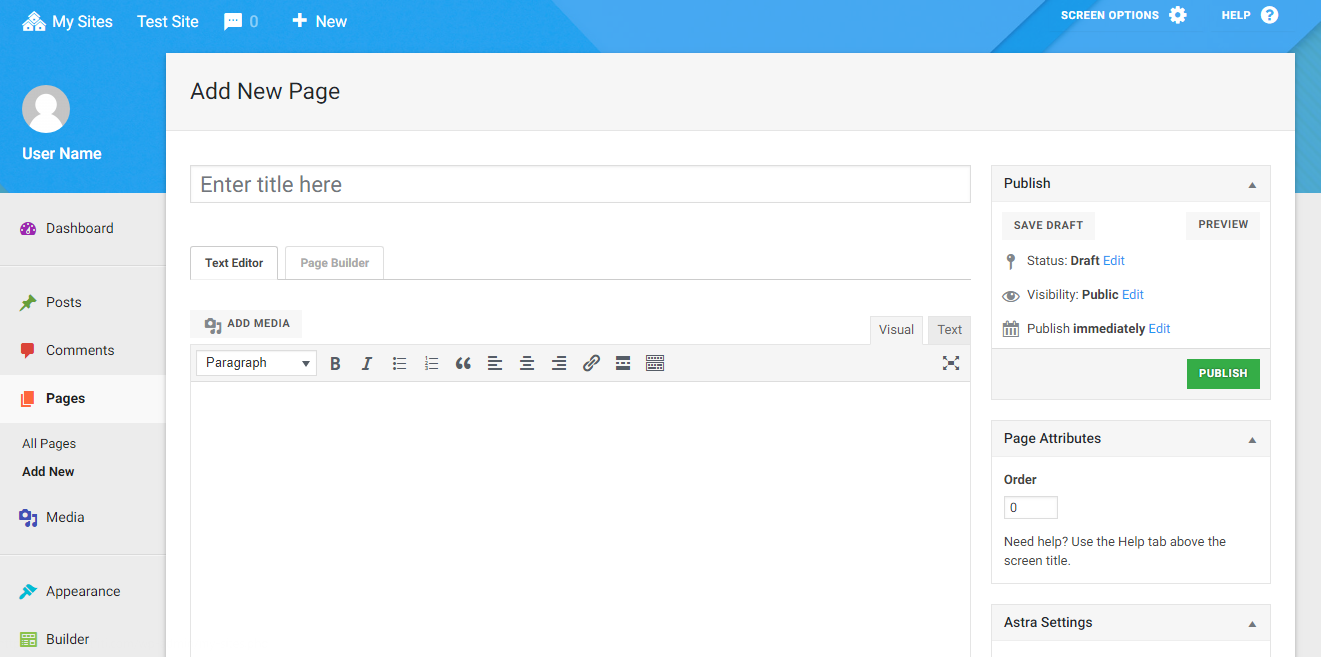
When creating a new post or page you should start by adding a title. This will be displayed as the post headline or as the page’s title. It automatically generates a URL once you’ve entered a title, so this should definitely be your first step. Then it’s time to start adding content with the editor or page builder (below the visual editor).
It’s important to learn how the visual editor works because this is the primary interface for adding content. By default new content uses a visual editor where the content is previewed right on the screen.
The alternative is to switch into a text-based editing mode where you edit directly in HTML or using the page builder. It is recommended that you use the visual editor if you intend to add text based content and using the page builder if you intend to add advanced items such as maps or forms to your content.

To switch between these two modes locate the tabs on the right-hand side of the editor. New bloggers who are not familiar with HTML should stick with the default visual textbox.
Each icon in the toolbar will edit text based on an individual function. When you hover an icon it will display a tooltip which explains the functionality (i.e.: bold, numbered list, hyperlink, etc.). One special button will add a “Read More” tag into the text. This is a location chosen by the writer which creates an excerpt for the post.
