Would you like to provide more information to your form users as they complete your form? Users can have a better understanding of form requirements with more instructions, and this makes it easier for them to submit a form. In this tutorial, we’ll show you different ways to add extra text to your form.
- Form Name and Description
- Field Label, Description, and Placeholder
- HTML Field
- Section Divider
- Form Page Title and Description (for Multi-page form)
Form Name and Description
The name and description of a form allow users to get an overview of the form in a quick glance. When you create a new form, you’ll be able to add the form name in the Setup page of the form builder.
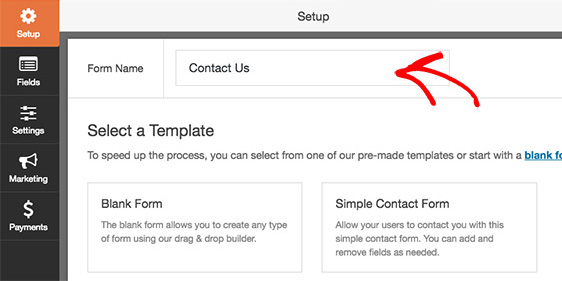
The form description allows you provide more information to users. To add a description to your form, go to Settings » General and edit the Form Descriptionfield. If you’d like to make changes to the form name, you can edit the Form Namefield here as well.

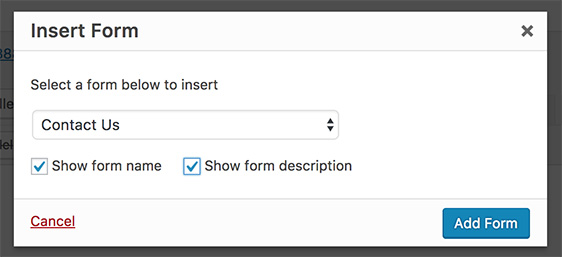
To display the form name and description in your form when adding a form to your page using a page editor, select Show Form Name and Show Form Description.
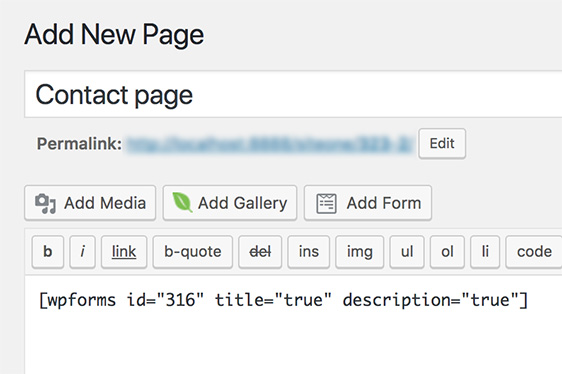
Here’s an example of a form shortcode with title and description enabled in the page editor:
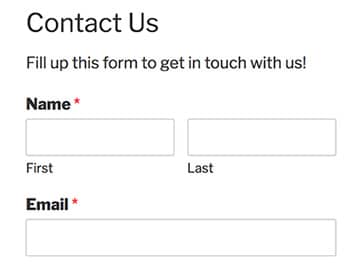
On the front-end of the site, here’s how the form name and description looks when the form published:
Field Label, Description, and Placeholder
While the form name and description can give users an overview of the form, adding field labels, field descriptions, placeholders, or a combination of these, allows you to provide specific information for an individual field.
In the form builder, click on the field you’d like to add information for. This will open the Field Options screen, where you can edit the fields for Label and Description.
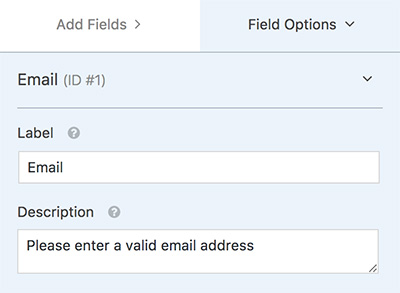
If you’d like to, you can also add a placeholder text within fields to show users an example. In the Field Options, open Advanced Options, and add your preferred text in the Placeholder Text field.
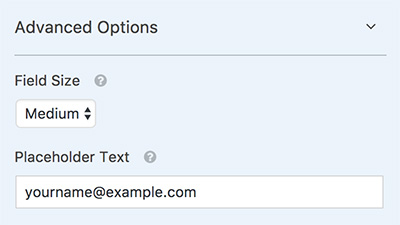
Here’s how the email field look with field label, description and placeholder text, when published:

HTML Field
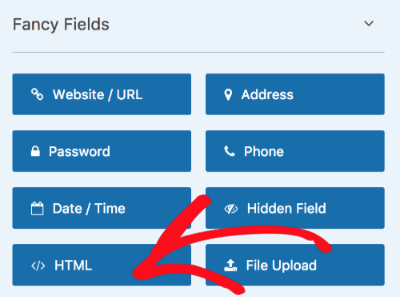
The HTML field in WPForms allows you to add HTML code, and you can also use it to add text to the form. To add this field to the form in the form builder, look under Fancy Fields and click on HTML.
Then, simply add the text you’d like to include into the Code field. If you’d like to, you can format the text with HTML.
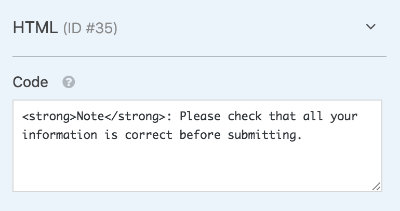
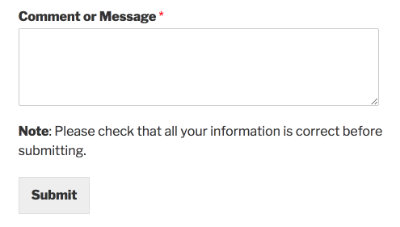
Here’s how the text in the HTML field look like when published in a form below a paragraph input field:
Section Divider
If you have different parts to your form, you might like to add a section title and some description to define each section of your form. Under the Fancy Fieldssection, you can add the Section Divider.
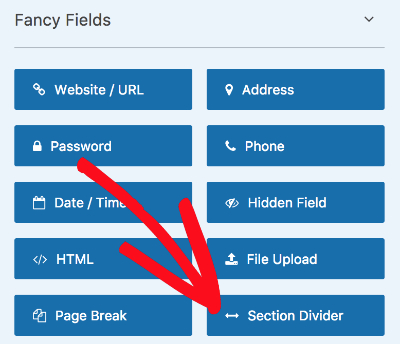
To change the title and description of the Section Divider, click on the Section Divider field in the form builder to edit the Label and Description fields in the Field Options.
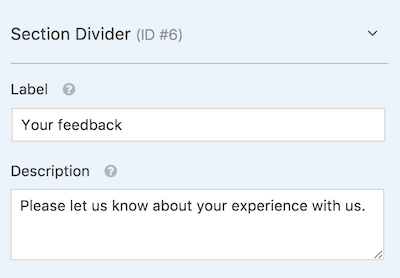
Here’s how the Section Divider field look when the form is published:

Form Page Title (for Multi-page form)
A multi-page form is a great way to organize a large form, and adding titles to each page gives users more information about each page.
To add page titles, click on the Page Break elements in the form builder and edit the Page Title field.
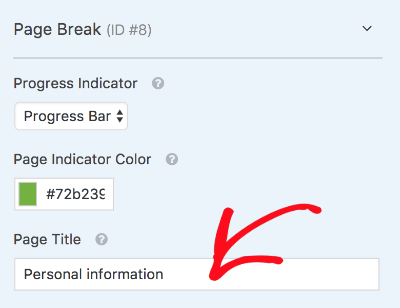
When the form is published, here’s how the page title looks:

That’s it! Now you know a variety of different ways to add text to a form.
Next, would you like to use tooltips to show more information to users? Then check out our guide on adding tooltips to your forms.
