Would you like to customize what users see after they submit a form? In WPForms, you can easily adjust the confirmation settings to display a success message, take users to another page on your site, or even redirect them to a different domain.
In this tutorial, we’ll show you how to select and set up each available form confirmation type in WPForms.
To get started, you’ll need to either create a create a new form or edit an existing form.
After opening the form builder, the next step is to go to Settings » Confirmation.
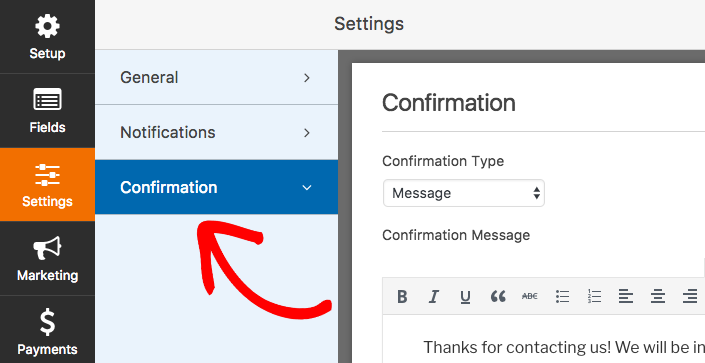
From the Confirmation Settings page, you’ll be able to select from three Confirmation Type options:
Message
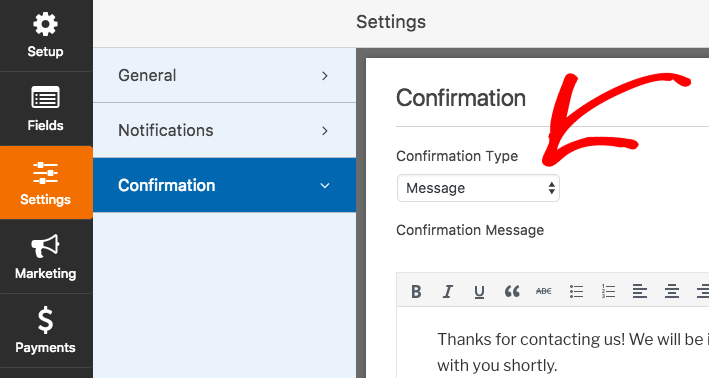
In WPForms, Message is the default confirmation type. When a form is submitted, this message will be displayed in place of the embedded form.

You can customize this message however you’d like. Here are some ideas to consider:
– Make your message more personal: We’ve put together some ideas to make sure your confirmation message is friendly and helpful for visitors.
– Offer incentives: If you’d like to help encourage users to submit your forms, consider a downloadable lead magnet. This can be added as a download link right within your confirmation message.
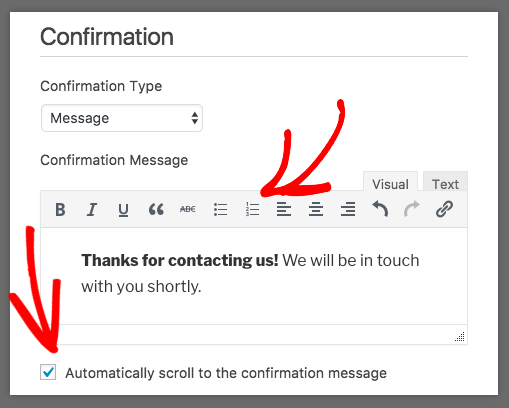
Additional Confirmation Message Options
The confirmation message editor will work a lot like a WordPress page or post editor, which means you can easily add basic text styles if you’d like.
On this page, you can also disable the default scrolling animation with the checkbox labeled Automatically scroll to the confirmation message. When this is enabled and a user submits the form, this scroll effect will pull the user’s view to the top of the confirmation message.
Show Page
With the Show Page option, you can easily redirect users to a page on your site after they’ve submitted a form.
When you select Show Page from the Confirmation Type dropdown, an additional dropdown will appear with a list of all pages on your site.
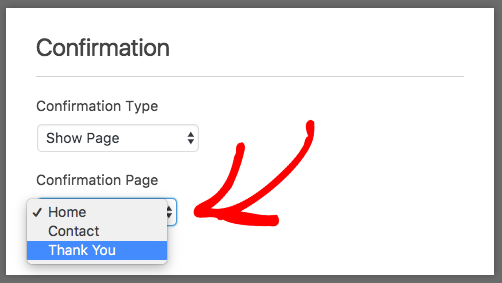
This option is most often used to redirect users to a Thank You page. For tips and examples, check out our article on how to make an effective Thank You page.
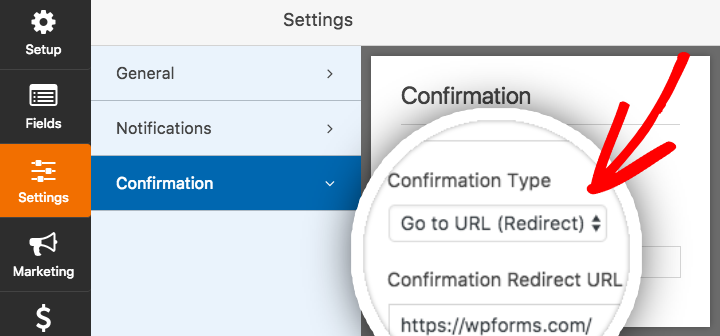
Go to URL (Redirect)
The Go to URL (Redirect) option is useful if you’d like to either send users to a different site or if you need to build out a specialized URL structure for more complex development.
That’s it! You can now set up the confirmations you need for each of your forms.
Next, would you like to customize your form emails? After setting up automatic notifications for your forms, be sure to check out our tutorial on adding a header image to notification emails.